Sunday, June 10, 2012

My birthday


Yes, yes, yes... It was my birthday - April 6th and I had meant to post what I did for it some months ago. Normally, I don't like celebrating my birthday but this year I wanted to blow my candles, all 35!
So I made a vanilla cake with chocolate filling and covered with lucious chantilly...
Did I tell you I love chantilly? :) it's not only covered but on top chantilly roses ...


I baked a vanilla cake and then sliced it in 4 layers. I brush a syrop ( made with 200 cl of water and 200 gr of sugar, brought to boil for about 3 minutes and let it cool down before brushing it on each layer).
Brushing a syrop gives lots of moisture to a simple cake. You can flavour your syrop with alcohol (run, whisky, orange liquor, etc)

Then I made the dark chocolate filling...

For the dark chocolate filling recipe from Baking (Dorie Greenspan)
2 cups of milk
4 large egg yolk
6 tbsp sugar
3 tbsp corsntarch, sifted
1/4 tsp salt
7 oz bittersweet chocolate, melted
2 1/2 tbp unslated butter, cut into 5 pieces at room temperature

To make the dark chocolate cream
Bring the milk to a boil. Meanwhile in a large heavy-bottmed saucepan, whisk the egg yolkds with the sugar, cornstarch and salt until think and well blended. Whisking without stopping, drizzle in about 1/4 cup of the hot milk- this will temper, or warm, the yolks so they won´t curdle- then, still whiskin, add the remainder of the milk in a steady stream. Put the pan over medium heat and, whisking vigorously, constantly and throroughly (make sure to get into the edges of the pan), bring the mixture to a boil. Keep at a boil, still whisking, for 1 to 2 minutes. remove the pan from the heat.
Whisk in the melted chocolate and let stand for 5 minutes. Then whisk in the pieces of butter, stirring until they are fully incorporated and the chocolate cream is smooth and silky. Press a piece of plastic wrap against the surface of the cream to create an airtight seal and refrigerate the cream until chilled, or for up to 3 days. Or if you want to cool the cream quickly, put the bowl with the cream into a larger bowl filled with ice cubes and cold water and stir the cream occasionally until it's throroughly chilled, about 20 minutes.

I filled around 3mm each layer with the chocolate cream and then coat the exterior of the cake with chantilly.

Chantilly
1 L of cream - 40 % fat
120 gr of sugar
Whisk it until you have the right consistency, can form peaks. Be carefull not to over beat or you will end up with butter! Very expensive butter :)


what was left
yummy!


Saturday, June 2, 2012

I am baaackkk

It's been certainly a while since I didn't post anything. I've been very busy, lot's of things happening, extremely tired but now I am back and also the sun.  It seems that finally Spring arrived bringing some much needed energy.

I am still going to my baking classes. I am in LOVE with them - once I managed to arrive and have my hands on the dough - but will spare you all the running around to get there which I don't necessarily love.

So what I have learned in class... many things... I'll post the pictures, sorry for the quality but they were taken with a mobile phone!


I made for my daughter's birthday. She turned 3!!!  I was told not to decorated with any cream.

I made this car cake for my colleague's son. He loved it!

Tartes meringue. Base of pate brise filled with pastry cream and cerises liés and cover with Italian Meringue !

St Honoré- Pate brise as base, with pastry cream, fruits, little choux filled with chantilly and covered in chocolate fondant

Saint Honore- and to cover it with Chantilly and fruit!

Carre a la Creme - 40X60 plaque of Pate brise as base, cut 10 cm width cut in long, cover with pastry cream

Last rectangle - brush a thin layer of abricotage (hot, hot)  and then brush the white fondant -fondant must be at the right temperature!!! and inmediately after do the lines with the chocolate and make with a knife the shapes
Finally, with a serrated knife cut in 3 cm width. Do NOT PRESS the dessert, very gently, no pressure SERRATE it


Huits à la creme- millefeuille with pastry cream

Belgian Waffles

Pain au chocolat (first attempt) this was my final exam of 2nd year!

Moka cake - this will be my final exam of Pastry!!!

Pain campagne

Croutes aux fraises- base pate sablé, filled with mix of pastry cream and chantilly, covered with fresh strawberries and finally brushed with abricotage and chopped pistaches


Sunday, March 18, 2012

Caramel-peanut-topped brownie cake


I was doubting whether I should bake this weekend because I am on a diet and I am seeing progress plus it just seemed that lately I kept sabotaging myself. I have been very good and stayed off sweet for 14 days, that is huge for someone that bakes twice a week in my pastry class where the main ingredients are chantilly, pastry cream, melted chocolate and this is without counting the weekends!
Despite all this, I decided to take a day off from my diet. I kept with my workout schedule and today I am back on track ! sometimes you just got to indulge, right? Besides, if you had seen the picture of this cake, you just had to try it!!!!

Going back to this recipe, some months ago, I bought Dorie Greenspan book " Baking from my home to yours". There are zillion recipes, but there are more than a couple that have caught my eye. This one specially, I had never seen around a cake like this. The picture of this cake is so tempting, imagine a moist and rich brownie cover with peanuts an avalanche de caramel dripping out of them... enough to be mouthwatering

The recipe is quite easy to follow. I was so happy I got almost all ingredients, just missing the salted peanuts which hubby was so eager and helpful to go get some after seeing the picture. I'm telling you, the picture is...mmm yum!!!

Ingredients:
For the brownie cake:
1 cup all-purpose flour
1 tsp. baking soda
¼ tsp. salt
8 tbsp. unsalted butter, cut into 8 pieces
5 oz. bittersweet chocolate, coarsely chopped
3 large eggs
½ cup packed light brown sugar
¼ cup sugar
3 tbsp. light corn syrup
½ tsp. vanilla extract

For the topping:
2 cups sugar
½ cup water
1½ tbsp. light corn syrup
2/3 cup heavy cream
2 tbsp. unsalted butter, at room temperature
1 cup salted peanuts

Making the cake
Center a rack in the oven and preheat the oven to 350° F.  Butter an 8-inch springform pan, dust the inside with flour, tap out the excess and line the bottom of the pan with a piece of parchment paper.  Place the springform pan on a baking sheet.
To make the cake, combine the flour, baking soda and salt in a small bowl; whisk together and set aside.  Add the butter and chocolate to a heatproof bowl set over simmering water.  Heat, stirring occasionally, until the ingredients are just melted – do not let them get so hot that the butter separates.  Remove the bowl from the heat and set aside.
In a large mixing bowl, whisk together the eggs and sugars until well blended.  Whisk in the corn syrup, followed by the vanilla.  Add in the melted butter and chocolate mixture, and whisk until combined.  Gently whisk in the dry ingredients, mixing only until they are just incorporated.  The batter should be thick, smooth and shiny.  Pour the batter into the prepared pan and jiggle the pan a bit to even out the batter.
Bake the cake at 350 degrees F for 40-45 minutes, or until a knife inserted into the centre comes out almost clean. Transfer the pan to a rack and cool he cake for 15 minutes, then run a knife between the cake and the pan and remove the sides of the pan. Cool the cake to room temperature.

Making the topping
Put the sugar, water and corn syrup in a medium heavy-bottomed saucepan, stir just to combine the ingredients and then put the pan over medium-high heat. Heat, without stirring , until the caramel turns deep amber, 5-10 minutes.
Lower the heat a bit and, standing back from the saucepan add the cream and butter. When the spatters are less vehement, stir to calm down the caramel and dissolve any lumps. Stir in the peanuts, and pour the caramel and peanuts into a 1-quart Pyrex measuring cup or heat-proof bowl.
Spoon the peanuts on top of the cake. Then spoon the caramel on top of those. You’ll have a layer about ¼-inch high. Allow the topping to set to room temperature-about 20 minutes before serving.
To serve, run a blunt knife between the caramel and the pan and simply remove the sides of the springform. If this isn’t the case, hit the sides with some hot air from a hairdryer or wrap the sides in a towel moistened with hot water.

Serve either with whipped cream (chantilly) or ice cream!!!
Deliciousssssss!!! worth braking my diet for one day!


Saturday, March 10, 2012

Fondant cakes: Love bed cake, T-shirt cake and little dots cake

 After my first fondant cake, I just wanted to explore and discover all the possibilities ... it's endless.  I decided to practice, rolling the fondant, placing it, details...
I did three different designs. I started with a very easy one, just a plain cake covered with white fondant and then added little rounds of three difference sizes.
This time around, I was very very patient and took my time to place the fondant, the result... it turned out GREAT!!!!! Very happy about that! and it didn't round , the sides were straight... tatannnnn


Then, I wanted something else... a-tshirt.  I didn't have many fondant colors to play endlessly ..just 4 basic colors. The result was not bad, the neck is a bit tricky... I went on by the feeling without any template, just what I thought, correcting, cutting, correcting till I found the shape similar to a t-shirt neck, not bad for a first time... then I added a few little details.


And finally, I did a bed and though I know Valentine's day is passed, I thought why no!?
This was really fun... Next time I do this, I will make two rectangular cookies and cover them with fondant to use as headboard and footboard, to make it more real!!!


I can't wait to decorate more cakes with fondant! SO MUCH FUN!!!!!


Thursday, March 1, 2012

Buttercream and Royal icing Decoration

One of the most difficult parts of the second year in pastry is to decorate a cake, piping, writing, etc, etc...
So I did two small duchesse cakes and decided to practice a little bit. 

The biscuit duchesse
6 eggs
200 gr sugar
200 gr flour

Beat the eggs with the sugar until it doubles its volume in and out of the gas, it should never pass 38 degrees, so warm to the touch. Keep beating till you can make a ribbon and stays for a little while.
Then,  add the flour slowly with a spatula.
Finally baked in a 200 C pre-heated oven for about 20 minutes or till it springs back when touched.

I used a 16 cm round form and an even smaller  form of 10 cm.

When the cakes were cool, I cut them in half and brush a syrup made with sugar, water and a bit of run. I fill them in with Vanilla French buttercream, the one made by heating a sugar syrup until it reaches soft ball stage and then whipping it into beaten egg yolks and soft butter.

Finally, the decoration, I did American buttercream and for that I whipped soft unsalted butter and sugar S° and a couple of spoons of milk till I obtained the consistency I wanted.
I crumb coated them and then let it sit till firm. I tried to put into practice what I learned in class two weeks ago.
I decorated the 16cm cake with black buttercream and on top piped roses. I didn't have much buttercream left to do the bottoms so I used the royal icing.

For the smallest cake, I used royal icing to pipe some forms. I tried to create some hearts and then add little dots..

Still lots to practice. I am considering buying dummies, because I can't continue making this amount of cake for two persons only, plus I am sabotaging my diet...


Sunday, February 26, 2012

Margarita Cake


Remember what was going to be my project? 
Well it changed a bit.

I went to the store with the good intention of buying the torch for my next project, but in between got a Daisy Marguerite Cutter Plunger , and since I didn't find the torch... might as well delay my project just a tiny bit.

 So with this new excuse, what to do? what to do? I decided to decorate a cake with fondant. My first time alone. The first time I decorated one I was 15 and I was helping my mom.


For a 16 cm  round cake, I used a recipe that I loved, not sure where I found it now.

 - 250 ml full fat yogurt - I used greek yogurt
- 325 gr flour
- 150 gr sugar
- 2 tsp baking powder
- 1/4 tsp baking soda
- 1/4 tsp salt
- juice of 2 oranges
- 1 egg
- 1 tbsp orange zest
- 160 ml oil

Preparation
Mix all wet ingredients in a bowl : egg, yogurt, oil, sugar and orange juice
Then, in another bowl mix flower, baking soda, baking powder, salt, orange zest.
Finally add the wet ingredients to the dry by batches. Mix until they are combined. Do not overbeat!
Bake till done at 175 C,  it will take from 45 minutes to an hour.

When the cake was cool, I sliced it in two and brushed a sirop which I made with water and sugar to moist the cake. I added then a layer of dulce de leche and put the cake back together.

I then did a simple vanilla buttercream, the American type - which I used to even out the entire cake and as a glue for the fondant.
 
My helper insisted in decorating some cupcakes herself. 


Finally, I rolled the white fondant and covered the cake. This was more difficult that I thought. My pin roll was too small and was leaving several marks in the fondant. Another step that I found rather difficult was trying the cake not to bulge and of course the elephant skin!
I didn't let the results discourage me, being a perfectionist I can become rather negative ... so I continued and tried to save the cake and finished decorating with the flowers I had done previously.


 And of course, we couldn't miss the "feliz cumpleaños" part. No, it was not her birthday, but she loves the singing and blowing the candle.


et voilà! after all that work... I think I deserve a delicious piece of cake!


Sunday, February 19, 2012

Sugar cookies


Last week, I received from a lovely friend Valentine cookies decorated with fondant. Since my last chocolate cake, I thought I could have fun this time with my restless assistant and make some cookies with her.

For the recipe, I used Martha Stewart's sugar cookies but I replaced the vanille with orange and lemon juice and added the zest of one orange.

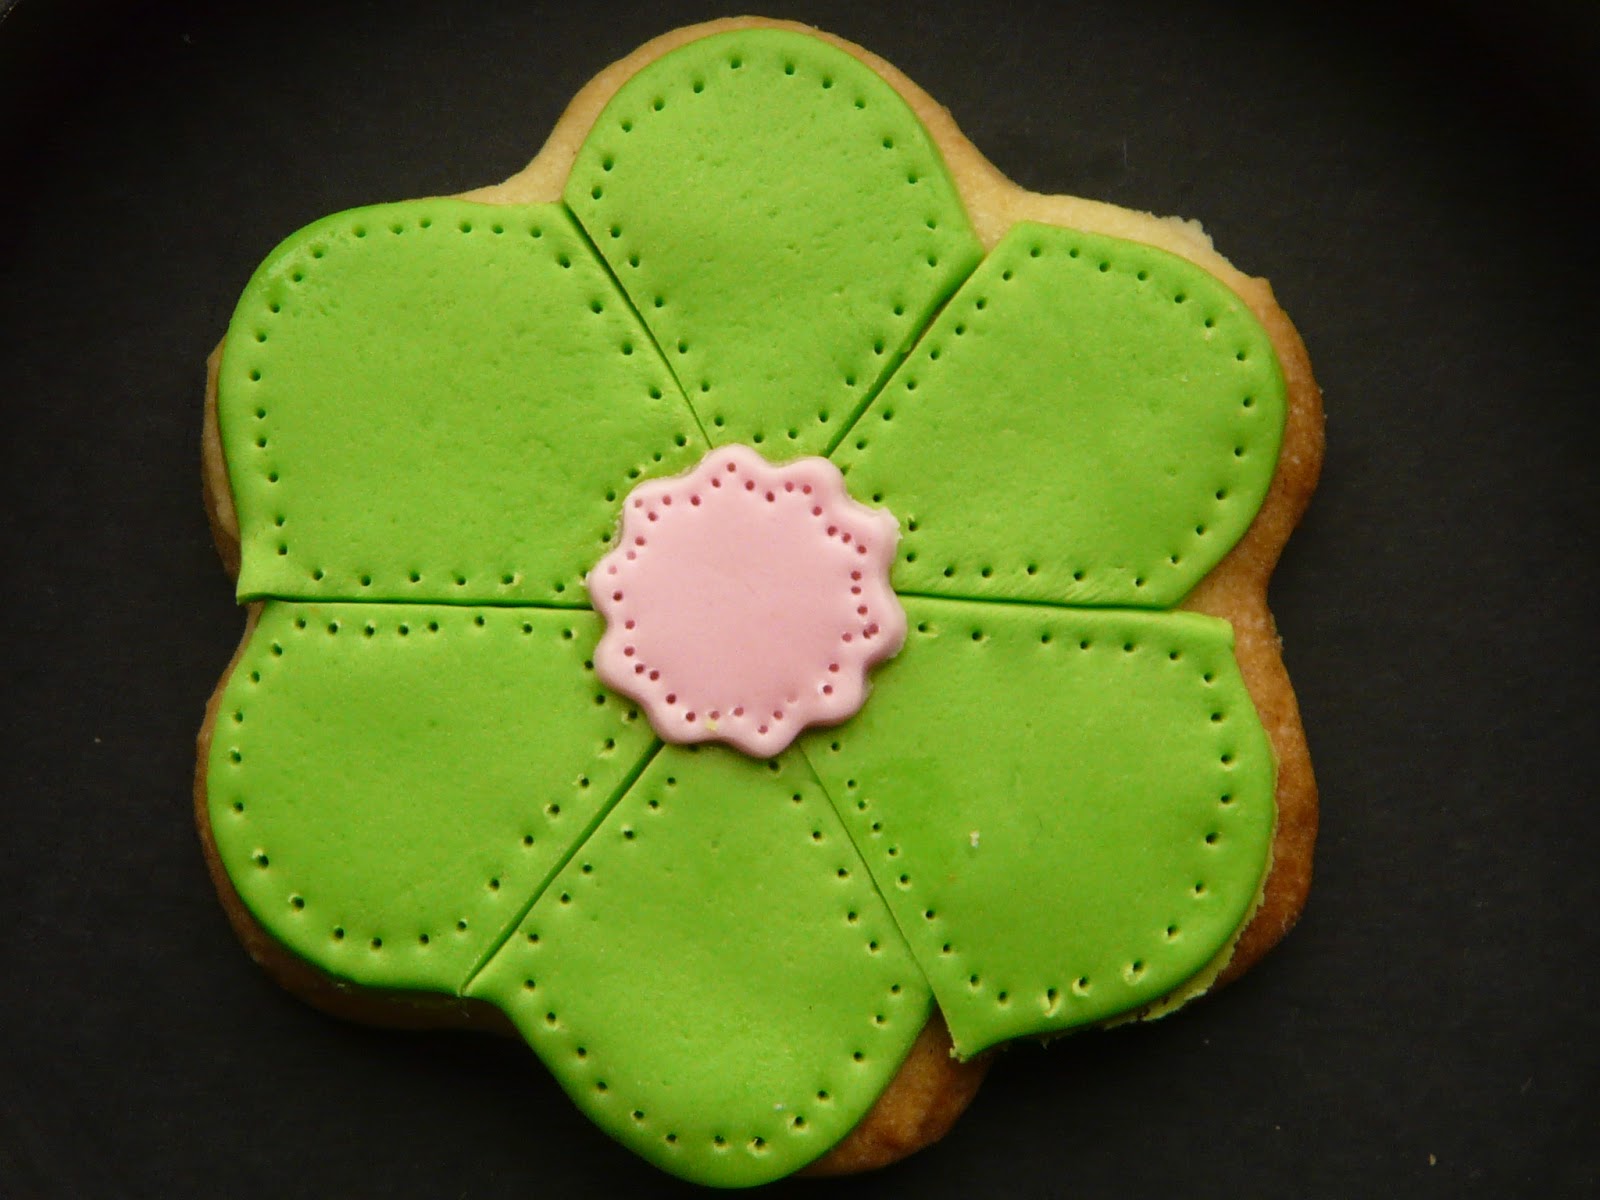
Then, when completely cool, time to let your inner child out! I had basic colors of fondant which I rolled and cut with the same cookie cutters, and make some dots to give some texture ..

I think I got carried away more than her... endless possibilities!!!
We started with basic shapes, such butterflies and flowers, then I went to look for the food coloring and I just wanted to paint, draw, mmmm the outcome was not that bad considering I did all of it with a toothpick, didn't have a brush for this. ;)


Fun little project and the most important part,  my pioja loved doing this!


My next project, it involves italian meringue, lemon curd and a torche ...